Important Links
-
Manual
Download
Product Overview
What’s Included in the Box?
The box contains:
- EvoFox Elite X2 Pro Wireless Gamepad
- 2.4GHz Wireless USB Receiver
- Type-C Charging Cable
- USB Extender Cable
- 2 x Replaceable Joysticks
- User Manual
- Insert Cards
What is the EvoFox Elite X2 Pro?
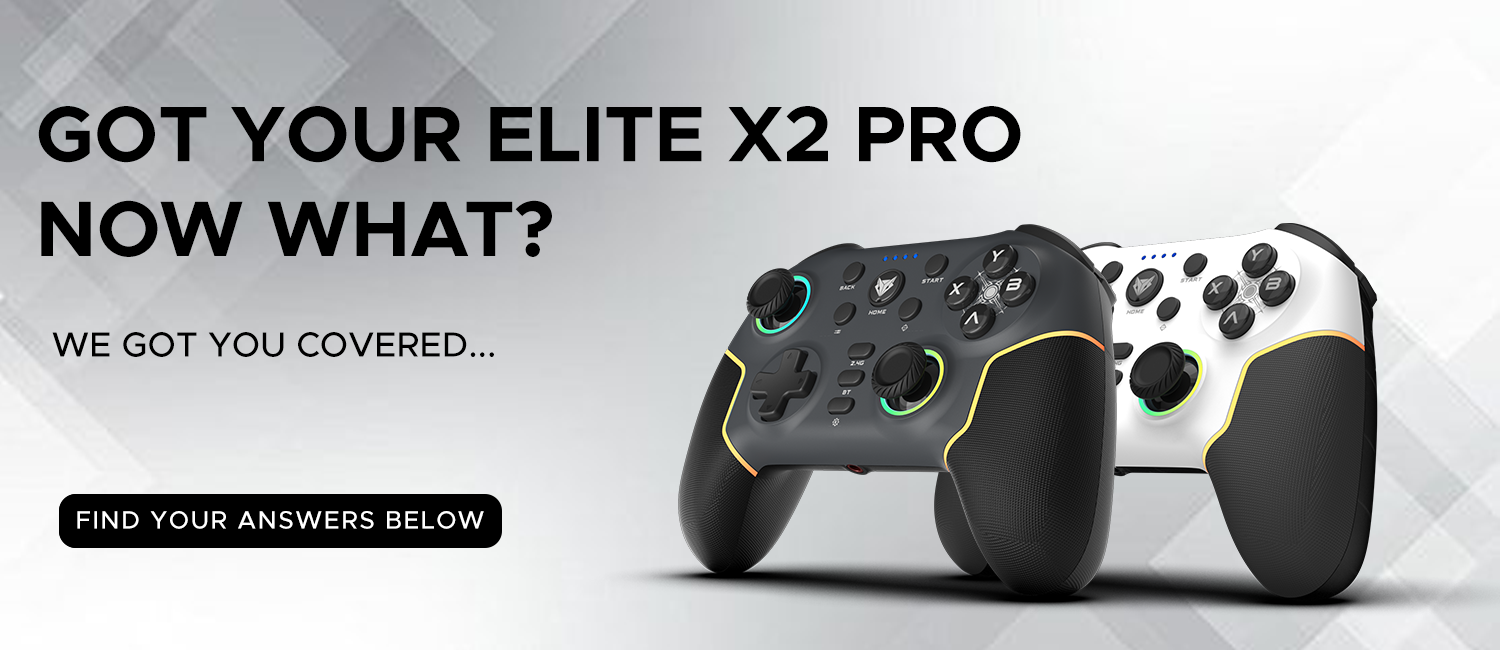
The EvoFox Elite X2 Pro is a premium tri-mode wireless gaming controller designed for gamers who demand versatility, precision, and pro-level performance. It supports seamless switching between 2.4GHz Wireless, Bluetooth 5.0, and Wired USB-C modes, offering broad compatibility across Android, iOS, Windows, and Nintendo Switch. Equipped with Hall Effect Magnetic Triggers and 3D Joysticks, the controller ensures drift-free accuracy and long-term durability. The 800mAh rechargeable battery provides up to 16 hours of playtime on a single charge. Additionally, it features adjustable vibration intensity, customizable dynamic RGB lighting, and a 3.5mm audio jack (usable in Wired Mode) for immersive gameplay.
Key Features
- Tri-Mode Connectivity: Wired (USB-C), Bluetooth 5.0, & 2.4GHz Wireless via Receiver
- Hall Effect Precision: Magnetic Triggers & 3D Joysticks for ultra-smooth, drift-free control
- 3.5mm Audio Jack: Functional in Wired Mode for game audio and voice chat
- Dynamic RGB Lighting: Transparent back with customizable multicolor glow
- Trigger Mode Toggle: Instantly switch between analog and digital trigger input
- Dedicated Turbo Function: Assign Turbo to any action button for rapid-fire performance
- Rechargeable Battery: Built-in 800mAh battery with USB-C charging support, up to 16 hours of playtime
- Ergonomic Design: Comfortable, textured grip for extended gaming sessions
- Multi-Platform Support: Compatible with Android, iOS, Windows, and Nintendo Switch
- 1000Hz Polling Rate (Wired Mode): Ultra-fast response for peak gaming performance
Quick Setup Guide
How to Turn On the Controller?
- Long press the Home button, 2.4G, or BT to power ON the controller.
- The LED lights will indicate the current mode.
How to Connect the Controller?
Wired Mode:
Connect the controller to your device via USB-C cable. It will automatically enter Wired Mode.
2.4GHz Wireless Mode:
- Connect the USB Receiver to a free USB port on your PC.
- Press the 2.4G button to turn the Gamepad ON.
- The Blue LED will be stable after successful connection.
Tip: Use the USB Extender for better wireless performance. RECONNECTING: Simply press the Home or 2.4G button to power ON and reconnect the Gamepad.
After 10 seconds of no connection, the Gamepad will automatically enter pairing mode.
Bluetooth Mode:
- For PC/Android/iOS (MFI):
- Press the BT Mode button on your controller.
- On your phone or PC, open Bluetooth settings.
- Look for “Xbox Wireless Controller” and tap to connect.
- Once paired, the LED light will stay ON to confirm connection.
For Android HID Mode:
- Press A + Home button on your controller.
- Open Bluetooth Settings on the device.
- Scan and pair with "EvoFox Elite X2 Pro"
For Switch Mode:
- Press Y + Home button on your controller.
- Open Bluetooth Settings on the device.
- Scan and pair with "Pro Controller"
RECONNECTING: Simply press the Home button to power ON and reconnect the Gamepad. After 10 seconds of no connection, the Gamepad will automatically enter pairing mode.
How to Switch Between Modes?
- Home + A: Bluetooth Android Mode
- Home + B: Bluetooth iOS Mode
- Home + Y: Bluetooth Switch Mode
- Home + X: 2.4GHz Wireless Mode
Wired Mode: Connect USB-C cable
How Do I Adjust Vibration, Check Battery, or Change RGB Lighting Quickly?
You can use the Quick Settings shortcuts by holding the ⚙️ (Settings button) and pressing the respective D-Pad directions:
- Setting Button + Up → Increase Vibration Intensity
- Setting Button + Down → Decrease Vibration Intensity
- Setting Button + Left → Show Battery Level Indicator
- Setting Button + Right → Change RGB Lighting Mode
Features and Customization
How Do I Use the KeyLinker App with the EvoFox Elite X2 Pro Gamepad?
To enhance your gamepad experience, follow these steps to set up the KeyLinker App:
- Download the KeyLinker App
- iOS: Search for KeyLinker on the App Store
- Android: Search for KeyLinker on Google Play Store
- Power ON your EvoFox Elite X2 Pro controller.
- Turn ON Bluetooth on your mobile device.
- Open the KeyLinker App — it will automatically detect your controller.
Tap on "KL-EF-X2Pro" to pair and begin customizing. The app allows you to remap buttons, set macros, adjust joystick/trigger sensitivity, change vibration levels, and keep your firmware up to date for a personalized gaming experience.
How Do I Use the Turbo Function?
- To enable Turbo: Press and hold the TURBO button, then press the button you want to assign Turbo to (A, B, X, Y, LB, LT, RB, or RT).
- To disable Turbo: Repeat the same step — press and hold the TURBO button and press the same assigned button again.
- To adjust Turbo speed: Hold the TURBO button and press D-PAD UP to increase or D-PAD DOWN to decrease the speed.
- To clear all Turbo settings: Press and hold the TURBO button for 5 seconds until the gamepad vibrates.
How Can I Use the 3.5mm Audio Jack on the EvoFox Elite X2 Pro Controller, and What Are the Requirements?
To use the 3.5mm audio jack on the EvoFox Elite X2 Pro controller:
- Connect your headset to the controller’s 3.5mm audio port.
- Plug the controller into your Windows PC using the USB-C cable (this feature works only in wired mode).
- Set the controller as the default audio device in your system's sound settings if needed. Once set, you can enjoy crystal-clear game audio and voice chat directly through your controller — no need to plug the headset separately into your PC.
How Do I Reset the Controller?
In the unlikely event that the gamepad is not responsive, use a pin to press the RESET button located at the back.
How Do I Replace the Joystick?
- Gently pull out the joystick from its base — no tools needed.
- Align the replacement joystick with the slot and press it in firmly.
- Make sure it fits snugly and rotates smoothly.
- Power on the Gamepad and perform a quick calibration for optimal performance.
Power Management
What Kind of Battery Does It Use?
- Built-in 800mAh rechargeable battery
- Offers up to 16 hours of playtime
How Do I Charge the Gamepad, and What Are the LED Indications During Charging?
To charge the gamepad:
- Connect the controller to a power source using the provided charging cable.
- While charging, the LED indicators will blink progressively — showing the current charge level.
- Once the gamepad is fully charged, all LED lights will stay solid (stable) without blinking.
Can I Play While Charging?
Yes, the controller works in Wired Mode while charging.
Compatibility
Which Platforms Are Supported?
- Windows 7 and above
- Android Phones/Tablets/TVs
- iOS 13 and above
- Nintendo Switch (via Bluetooth)
- Smart TVs & TV Boxes (Android-based)
Troubleshooting
Why is My Gamepad Not Pairing via Bluetooth?
- Ensure the correct mode is used.
- Check if Bluetooth on your device is turned ON.
- Forget and re-pair from device settings if already connected.
Why Is My Controller Not Working in 2.4GHz Mode?
- Ensure the receiver is properly inserted.
- Reconnect by pressing the Home or 2.4G button. If no connection is established within 10 seconds, the gamepad enters pairing mode.
- Use the USB extender for better signal strength.
What Should I Do When Buttons Are Not Responding Properly?
- In the unlikely event the gamepad is not responsive, use a pin to press the RESET button located at the back.
- Ensure the correct mode for your platform is active.
Why Is the Audio Jack Not Working?
- Available only in Wired Mode.
- Ensure the cable connection is secure and the volume is up.
How Do I Calibrate the Joysticks and Triggers on the Elite X2 Pro Gamepad?
Follow these steps to calibrate your gamepad if you experience joystick drift or unusual input behavior:
- Enter Calibration Mode:
Make sure the gamepad is OFF and the 2-Step Trigger is set to maximum (2/2).
Press and hold Back + B + Home until LEDs 1+2 and 3+4 start blinking alternately. - Rotate Joysticks:
Slowly rotate both the left and right joysticks in full circles—one at a time. - Press Trigger Buttons:
Press the LT and RT triggers twice, each one separately. - Finish Calibration: Press the Start button. All LEDs will blink rapidly to confirm successful calibration.
RGB Not Lighting Up?
- Press the LED button to toggle the lights.
- Long press LED to power lights ON/OFF.
- Ensure the controller is charged.


